How to Enter Data
If you have data to manually enter, there are advantages to using DataGraph for data entry rather than say a spreadsheet, including:
- Named columns – Data are organized in columns where you specify the column name.
- Non-destructive data entry – DataGraph has ‘What You Type Is What You Get’ data entry. There is no autoformating or autocorrection of entered data.
- Built-in data validation – For numbers and dates, the program will check that what you entered matches the specified format. When the data does not match, the entered values are shown in red.
Add a Column
To enter data into a new file, you’ll first need to add a column. DataGraph has four primary column types:
- Number – enter numeric values or variables
- Text – enter labels or id numbers
- Expression – enter formulas
- Date – enter dates in any specified format
Columns can be created in two ways:
- Using the Data menu
- Using the data definitions side bar
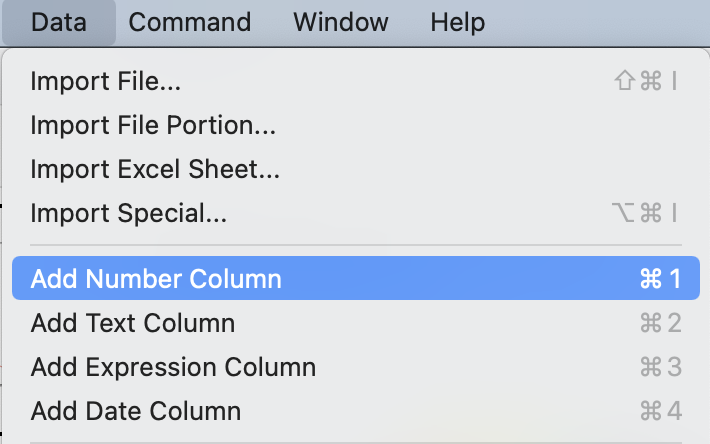
To create using the menu bar, click Data and scroll to select a column type. For example, to add a number column select Data > Add Number Column (⌘-1).
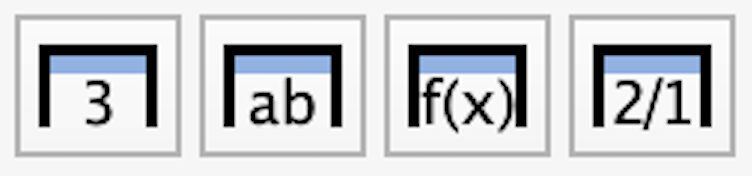
To create using the side bar, click either of following four buttons, which are ordered from left to right, Number, Text, Expression, and Date:
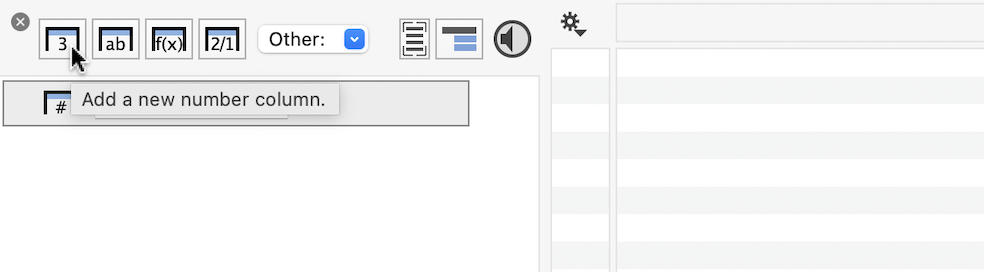
For example, click the first button to create a number column.
This will create an editable column in the data table, and a corresponding object in the data list on the left of the user interface.
Enter Data
After you create your columns you can start entering data. Watch this demo to see two number columns entered into the table. An expression column is also added and the two columns are subtracted.
When you enter in the data table, the following rules are used:
- Double-click – opens a cell to start editing.
- Tab – moves across the current row to the next editable cell.
- Shift-tab – moves backward.
- Return – moves down the current column.
When you are at the end of a row, Tab will move to the next editable cell in the next row. When you are at the beginning of a row, Shift-tab will move up to the next editable cell in the prior row.
Data Validation
For both numbers and dates, entered data is validated against the data type. When an entered value does not match the specified type, the text is shown in red to indicate the error.
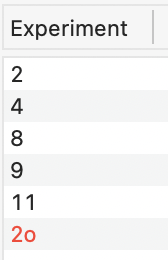
Here is an example with numbers. In the last row, the letter ‘o’ was typed instead of the number ‘0’.
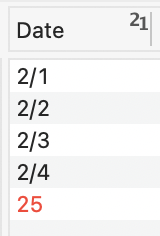
Here is an example with dates. In the last row, the entry should have been typed as ‘2/5’.
Column Objects
Every column object has a similar design.
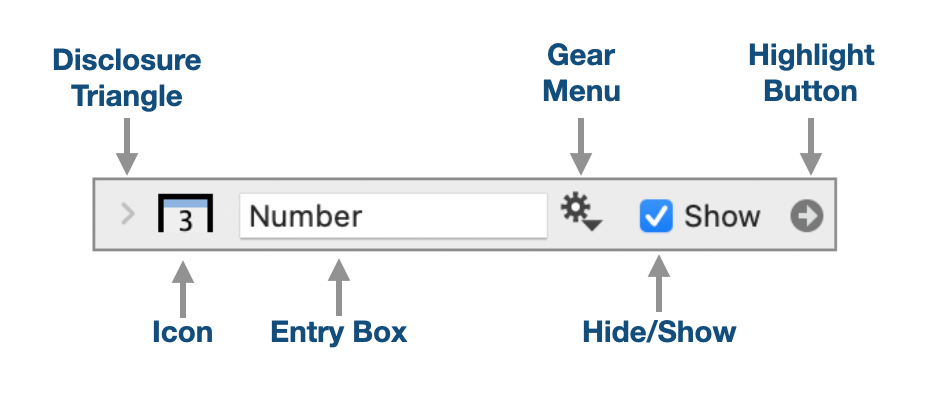
The objects include the following elements from left to right:
- Disclosure triangle – click to expand or collapse the object. Access to input and/or formatting options.
- Icon – denotes the column type.
- Entry box – click to enter column name.
- Gear Menu – click to access shortcuts and actions.
- Hide/Show – check box to hide or show in the data table.
- Highlight button – click to highlight in the data table.
Column objects are can be moved by clicking and dragging. This will also change the order in the data table. You can delete an object by selecting and hit the delete key.
Column Types
To learn more about each column type, see the help article in the on-line reference manual.