Import Special Example 3
Example 3: Chicago Crime Dataset
The following examples use a crime data set from Chicago. The dataset is of reported incidents of crime from 2001 to present.
The data: https://data.cityofchicago.org/Public-Safety/Crimes-2001-to-present/ijzp-q8t2/data
Click on the ‘Export’ button and select the CSV option. Split the downloaded file into smaller chunks by going to terminal and using the command line utility split.
split -l 800000 Downloaded.csv Crimes_
Then compress the files
gzip Crimes_*
This creates Crimes_aa.gz, etc. For the following examples, the data was split into smaller files when downloaded, this is not necessary.
Once the data is downloaded select it using Import Special. For this example, the data is divided into eight files. When all of the files are selected confirm the list by clicking on the drop down in the bottom left of the Import Special dialog, as shown below.
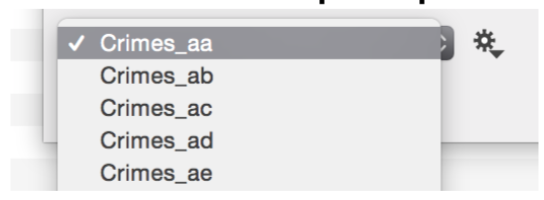
Use the gear menu just to the right to remove a single file at a time from the list.
Setting up the Record definitions
In the example data set, there are a large number of columns (22 columns), and most are text columns. A quick way to add a text column is to press the text icon multiple times in the Record definition section. Scroll the preview horizontally to see the end.

Similar to the first example, the data has a header row. In the data preview section, use the context menu (control-click or right click) on the header row to use these column names.

Once done, exclude the first row from being imported into the Data Table by using the header definition.
Since the header is only in the first file, check the box to the right. Otherwise the first row will be excluded from each file that is imported.

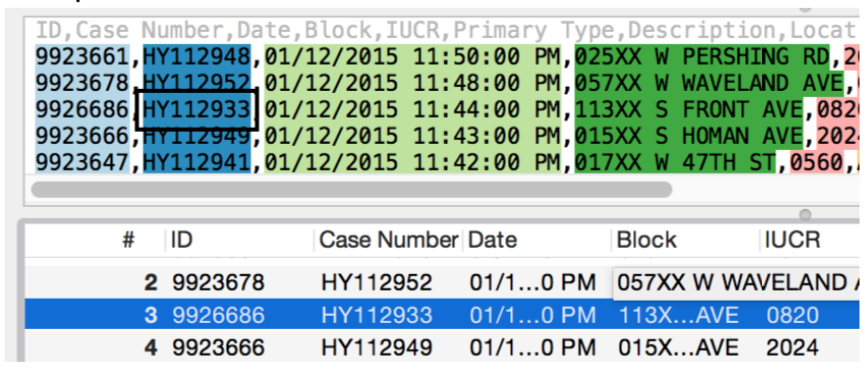
The preview will now look as follows:
Modifying the column types
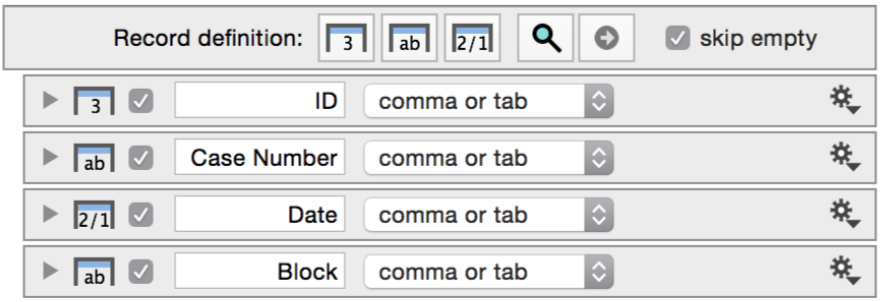
Not all of the columns are text columns. Change the data type for columns that are numbers or dates using the gear menu in the Record definition list.

The first column is converted to a number and the third column to a date, as shown below.
The ‘Date’ column in the preview window now shows up as red, specify the time format.
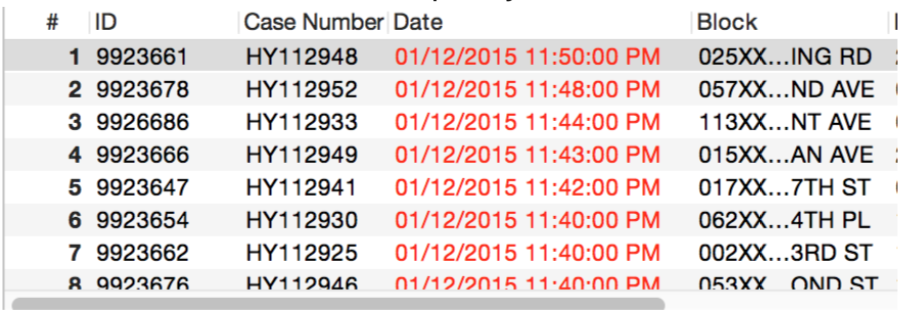
To further define the format of the ‘Date’ column open the disclosure triangle for this record in the Record definition list. Note how Time is set to ‘No Time’ by default.
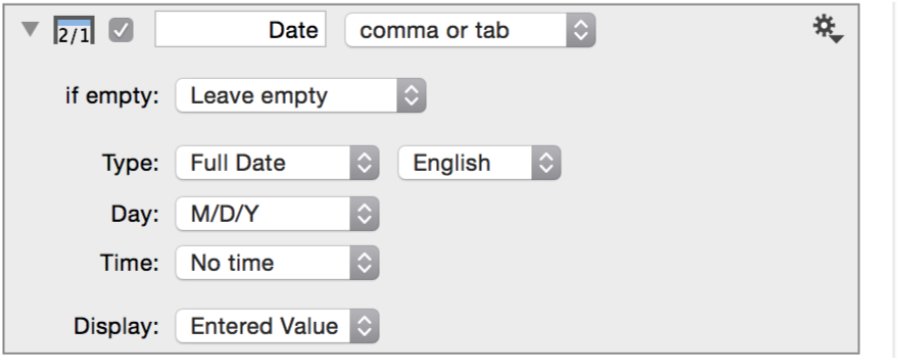
Set the time to the correct setting.
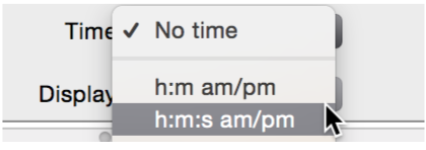
The date is no longer red in the data preview.

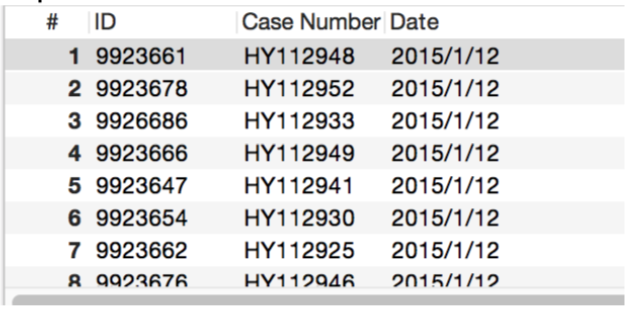
In the Record definition, change the Display setting on the date column to ‘yyyy/m/d’. In the data preview, the date is no longer red and the format reflects the Display setting. Only the way the data is displayed changed, note the underlying data. This display setting will be used when the data is imported.
Excluding columns
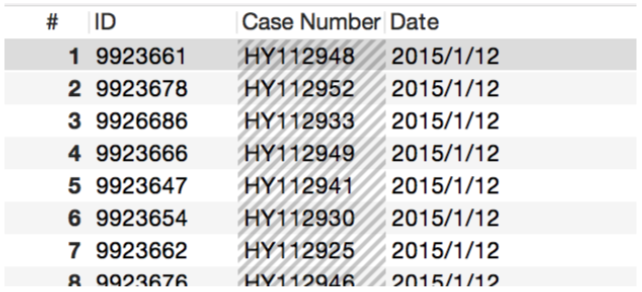
Not all of the data needs to be imported. Entire columns can be exclueded by unchecking the box to the left of the column name in the Record definition list. Exclude the ‘Case Number’.

In the data preview, the ‘Case Number’ column now has a shading to indicate that this column will not be imported.
Excluding data with a mask
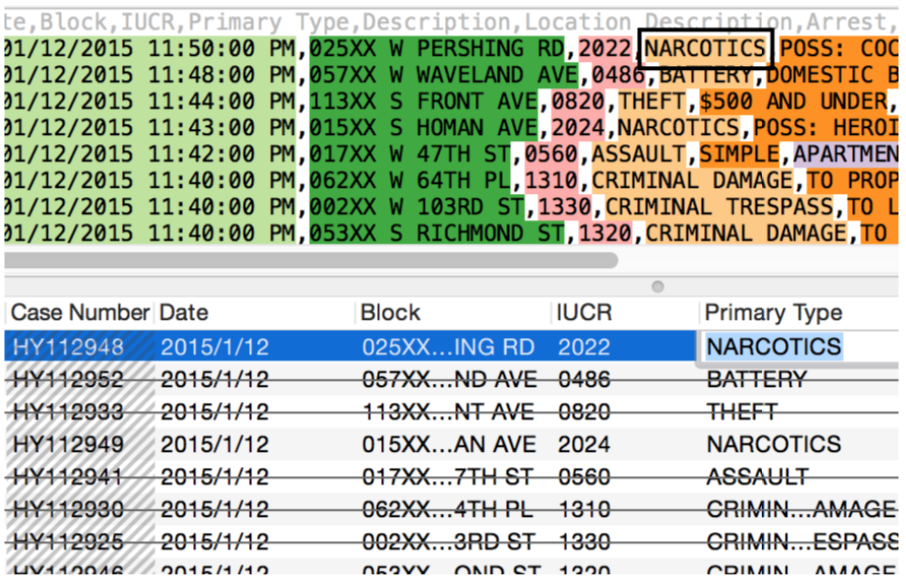
Use masks to specify subsets of data to import. For the example below only crime incidents involving narcotics that results in an arrest are used. The two conditions are used in the Include section of the import settings.

In the data preview window at the bottom of the screen all of the rows where the ‘PrimaryType’ is not ‘NARCOTICS’ are excluded based on the mask.
