Heat Equation
The heat equation (wikipedia) is a very simple PDE that describes how heat diffuses in a medium. If c is the rate of diffusion and f is the external heat or cooling the equation is given as

Where the left hand side is the rate of change of the temperature u and on the right hand side the differential operator is the Laplacian, which in two dimensions is

By no means the most accurate or efficient method to solve this is to use explicit Eulers equation to discretize the time dependence and central derivatives to approximate the Laplacian. This gives you a first order accurate method in time and second order accurate in space. Since the time evolution is using an explicit method there is a stability requirement that requires the time step to scale like the square of the space step.
This however is a very easy to implement and serves the purpose of explainining how to create and run an external task.
Create the Inputs
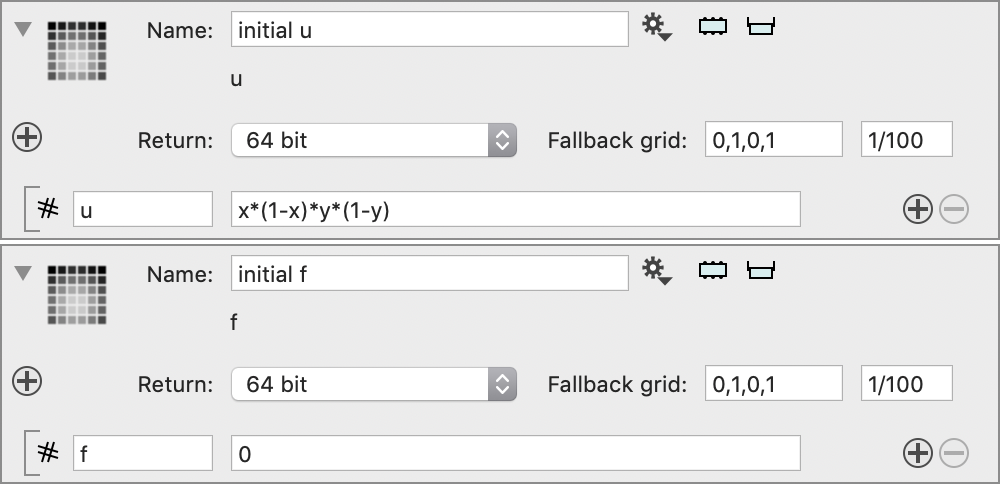
We need the initial value for u and in this example we use a f that doesn’t change in time. From the Image option in the Toolbar, create two images.

Type in the expressions. Note that we pick the 64 bit option for both entries. This is because we plan to use a double precision number to do all of the calculations. The default is 32 bit which is a single precision number. That won’t change the values that much but we will address this issue when we get to the C++ code later in this document.
Create the Task
To start use the Task entry in the Tool bar and click on the Create button at the bottom of the window.

The menu is used if you already wrote this, even if it was created in a different ImageTank document. The menu allows you to select the project for the task and ImageTank will automatically copy the setup.
Specify Inputs
This is explained in more detail in the Simple Example. The Task and Action methods have a lot of similarties and define inputs in a very similar ways.
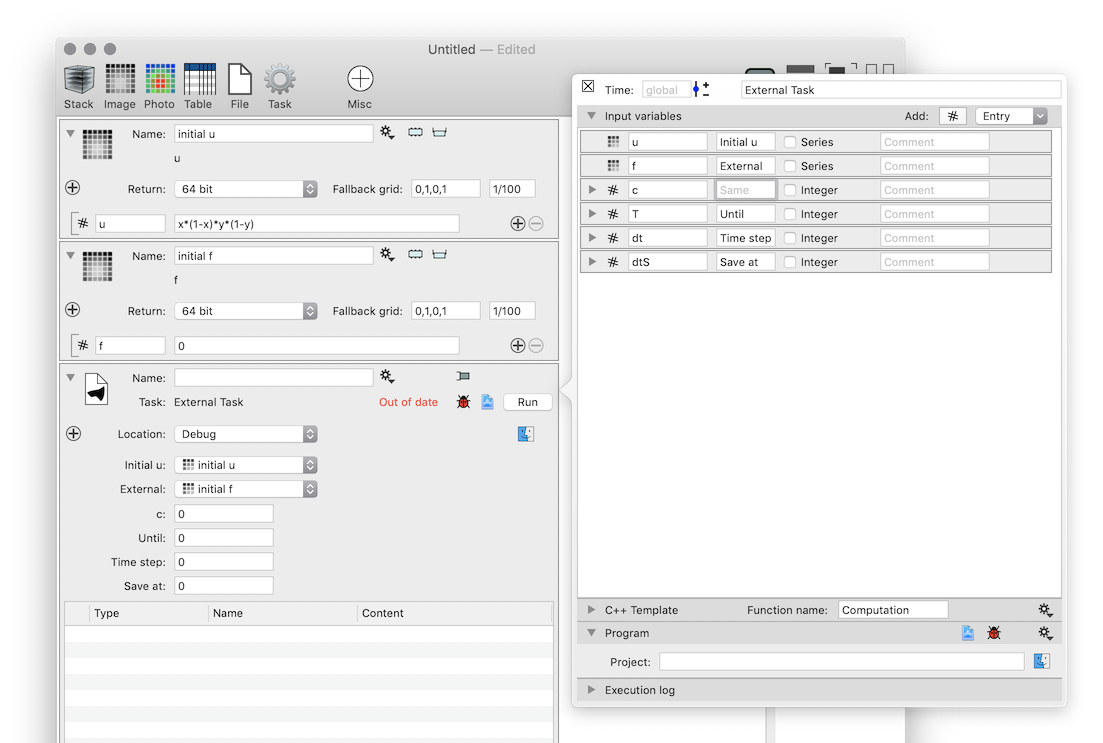
Some of the main points and differences are as follows:
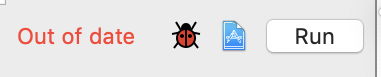
Just below the side panel button is a label and three buttons. Out of date just means that the result is not based on the current input. Next to that is a button to save input entries for debugging in Xcode, open the Xcode project and to launch the external task.
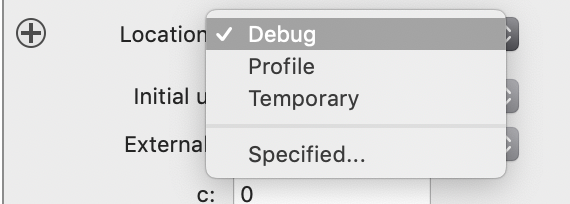
Below that is a menu which specifies where you run the external task. The default is the Debug folder, since this makes it much easier to test the program. Once everything is working smoothly it would make sense to switch to the Temporary option to have ImageTank create a folder for you, or Specified… where you can specify the folder you want to run the program.
Below this menu are the input arguments that are specified in the side panel. For more information see Simple Example. These entries were created by dragging the two input fields onto the list and using the Add option in the top right to create the numbers. One thing is different from the Action method, and that is the Series check box
Every variable can depend on time. This is handled automatically by ImageTank, but your C++ code will treat this very differently. The standard Action does not get the entire time sequence, just the current value so it doesn’t have this option. For this the input is just a single value so we leave this unchecked.
Create the Xcode Project
Click on the Xcode file button, specify the location of the project and the name.

The code that ImageTank auto-generates is the following
#include "computation.h"

#include <math.h>
#include "DTDoubleArrayOperators.h"
#include "DTUtilities.h"
#include "DTProgress.h"

void Computation(const DTImage &u,const DTImage &f,double c,
                 double T,double dt,
                 double dtS,DTDataFile &output)
{
    // DTMesh2DGrid grid = u.Grid(); // The underlying grid
    // Extract channels from u
    // DTImageChannel channel = u("u") or u(0)
    // If you want to access this as a float even for 8,32 or 64 bit
    // channel = ConvertToFloat(channel); // no cost if already float
    // DTFloatArray values = channel.FloatArray(); // Complains if not stored as floats

    // DTMesh2DGrid grid = f.Grid(); // The underlying grid
    // Extract channels from f
    // DTImageChannel channel = f("f") or f(0)
    // If you want to access this as a float even for 8,32 or 64 bit
    // channel = ConvertToFloat(channel); // no cost if already float
    // DTFloatArray values = channel.FloatArray(); // Complains if not stored as floats


    DTProgress progress;
    progress.UpdatePercentage(0.5);
}
This of course doesn’t compute the evolution, but let us look at what is there already.
- At the top are various headers that you might need. The computation.h header already included everything that is needed for this code to compile.
- For the Computation() function the last argument is key. This is the data file that everything is stored into. This file is created in the main.cpp file. The Task action in ImageTank monitors. You need to save the output here, and that is explained later.
- The comments include sample code to extract data from the input arguments.
The Numerical Code
The following is the numerical code needed for the PDE solver. This gets the initial values, evolves the solution in time and saves the output into the output file. Just paste this over the content that was auto-generated. After this we will go through the code and explain what each part does.
#include "computation.h"

#include "DTDoubleArrayOperators.h"
#include "DTProgress.h"
#include "DTSeriesImage.h"

void ComputeLaplacian(const DTDoubleArray &u,
                      DTMutableDoubleArray output)
{
    ssize_t m = u.m();
    ssize_t n = u.n();
    ssize_t i,j;
    // 1
    double *outputD = output.Pointer();
    const double *uD = u.Pointer();
    ssize_t ij;
    for (j=1;j<n-1;j++) {
        // 2
        ij = 1 + j*m;
        for (i=1;i<m-1;i++) {
            outputD[ij] = uD[ij+1]+uD[ij-1]+uD[ij+m]+uD[ij-m]-4*uD[ij];
            ij++;
        }
    }
}

void Computation(const DTImage &u,const DTImage &f,
                 double c,double T,double dt,double dtS,
                 DTDataFile &output)
{
    // 3
    DTSeriesImage outputU(output,"U");
    DTMesh2DGrid grid = u.Grid();

    // 4
    DTMutableDoubleArray uValues = u("u").DoubleArray().Copy();
    DTDoubleArray fValues = f("f").DoubleArray();
    DTMutableDoubleArray laplacian(uValues.m(),uValues.n());
    laplacian = 0.0;

    // 5
    double t = 0;
    outputU.Add(DTImage(grid,uValues,"u"),t);
    double h = grid.dx();
    DTProgress progress;

    double saveAt = dtS;
    while (t<T) {
        // 6
        ComputeLaplacian(uValues,laplacian);
        Daxpy(uValues,c*dt/(h*h),laplacian);
        Daxpy(uValues,dt,fValues);
        t += dt;
        if (t>saveAt-dtS*0.001) {
            // 7
            outputU.Add(DTImage(grid,uValues,"u"),t);
            saveAt += dtS;
        }
        // 8
        progress.UpdatePercentage(t/T);
    }
}- For speed reasons we use the underlying pointers for the arrays and not the convenience syntax that checks for array bounds. Since this code is called very often it is worth it to access the underlying pointer to get the most efficiency. Note that u is DTDoubleArray and output is DTMutableDoubleArray. You can hand in a DTMutableDoubleArray into a function that expects a DTDoubleArray but not the other way around. This is because DTDoubleArray is the base class for DTMutableDoubleArray. This also means that the underlying pointer from u has to be a const double *, since a double * is a pointer you can use to change the values. The compiler will enforce this.
- If you have an array of size m x n, which if it was a matrix would be called a m by n array the entry array(i,j) is located at list offset i + j*m. That is u(i,j) = uD[i+j*m]. The entry ij is the offset i+j*m, and when i is incremented by one the ij index is incremented by one to keep them equal. The entry u(i+a,j+b) = uD[i+a + (j+b)*m] = uD[ij + a + b*m]. Note also that the inner loop goes through i and the outer handles j. If you swapped the order the values would stay the same but the memory access pattern would be very different.
- The DTSeriesImage outputU(output,”U”) line creates an object of the type DTSeriesImage that is used to save a time sequence of DTImage objects. This object handles all of the details needed so that ImageTank knows the type and how many time values you have saved. Just creating this object will not write anything to disk, but as soon as you save the first time value the array will show up in ImageTank.
- The line DTMutableDoubleArray uValues = u(“u”).DoubleArray().Copy(); needs to be unpacked a little bit. The first par tis u(“u”). The first u is the variable that is handed in, the () operator is used to extract a channel by name. This is the name that was used to create the channel in ImageTank. The type of this result is a DTImageSingleChannel object. This object then is queried using the DoubleArray() member function. This extracts the underlying DTDoubleArray member variable from this channel if it exists. If it doesn’t exist the variable or channel needs to be converted to a 64 bit representation, but this was selected when you created the variable in ImageTank. The DTSource library avoids memory allocation so it consideres it up to you to make sure that the type matches. The laplacian variable is first allocated and then every value is set to 0. When you allocate an array the program does not bother to set the values due to speed considerations. Technically you only need to set the boundary to 0 since the function overwrites all of the interior points.
- This saves the initial value for u. You could also have used outputU.Add(u,t); because the u is a DTImage variable but this is done here for symmetry. The data is not copied because of how the DTDoubleArray handles memory ownership.
- Daxpy is the the function y = a*x+y. This is a very common operation. There are array convenience functions to make this syntax work but they will allocate two work arrays, one for keeping a*x and then the other to keep the result when you add it to y. Then the old y data is removed. Dynamic memory is a very powerful thing, but you try to minimize it. The resulting code will be faster.
- There is no need to save every time value. So this is a simple method to only save a sub-set. This is saved immediately to disk. This is key because you don’t copy the u array during that safe. Again to avoid unnecessary memory allocations.
- This is optional but it makes it possible for ImageTank to monitor the progress. If you follow the code you will see that it writes to a file and ImageTank just has to check the size of the file to see what percentage is done.
Run the program
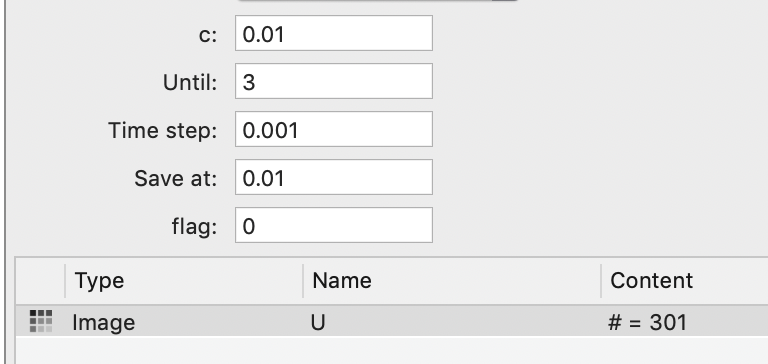
Compile the program in Xcode. Now go to ImageTank set the initial parameters and hit the Run button.
When you hit the Run button ImageTank will save the input variables into one or more files and run your program. While the program is running the Run button is grayed out and you see a progress bar in the top left corner.
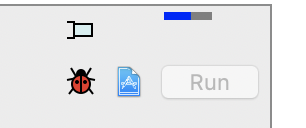
You can click on the progress bar and abort the execution.
You can choose where you run the program. A unix task (almost) always has what is called the current working directory. If you are in the Terminal this is the directory that you are in when you run the program. In Xcode the executable is created in a directory and when you run the program in the debugger the working directory is set to the directory where the application is.
ImageTank allows you to set this working directory. To do that you select it from a menu in the detail portion of the Task object. The default is the Debug folder. That means that even if you don’t launch the task from ImageTank but from Xcode the content will be updated in real time.
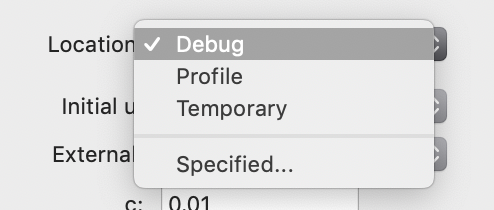
The Profile is the “Release” directory, and even though the debugger doesn’t use this, if you run your program in the profiler this directory will be used. If you ask Xcode to compile for profiling this is where the output is created. For both the Debug and Profile options ImageTank uses the executable in that directory.
The Temporary directory option means that ImageTank will create a directory that is unique for this object while the file is open and run the program in that directory. ImageTank will use the debug or release version of your program depending on which is newer. Note that when you close the document this directory will be removed so your data will go away.
The last option allows you to specify your own directory to run the program. As with the Temporary directory ImageTank will use the newest version of your program.
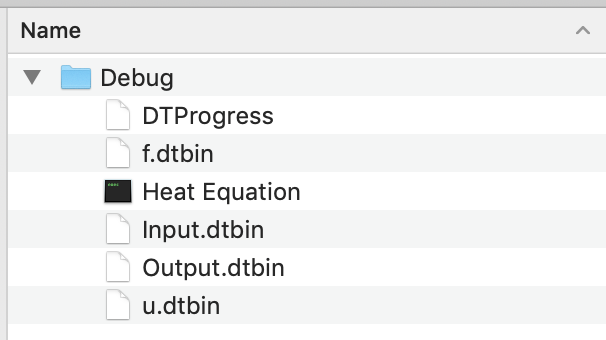
Extract Data
The working folder contains the input and output files. For this setup the two images are saved as separate files – f.dtbin and u.dtbin. The scalars are saved in Input.dtbin. This is done for efficiency sake since often the images stay the same and you vary the parameters and this way the image does not have to be saved every time you run the program.
The output is saved into the file Output.dtbin. This is always the name of that file and contains the entire output of the execution in a single file. This is the file that ImageTank monitors. In fact it checks every second to see if something was appended or the file was rewritten. This data file can be opened separately, just drag the file into the variable list. To extract the data select the variable from the list and click the Create button.
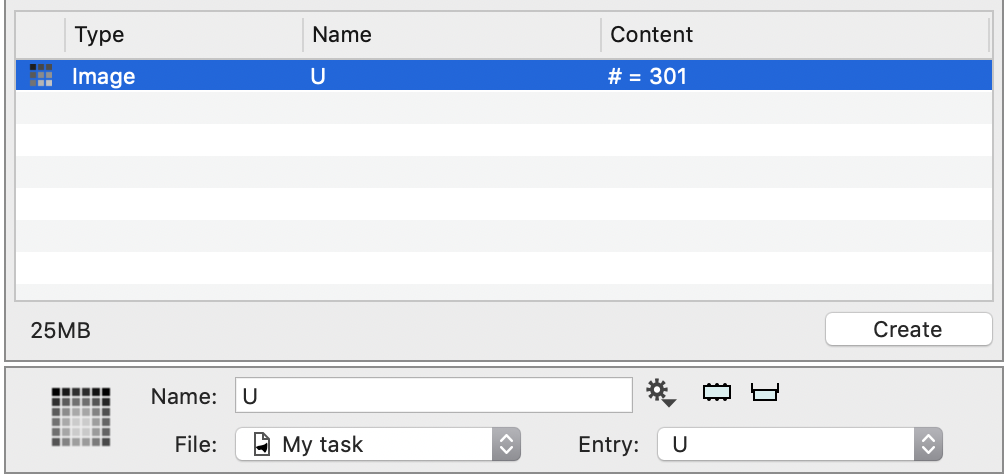
You can now use this image the same way as you work with any other image. There are 301 time values, so when you change the time slider you will go through that time sequence. The image will be read from the file as needed.