What are Snapshots?
Introduction
The snapshot mechanism was created to address a number of issues with the standard way of storing, accessing and sharing data files. Snapshots are based on a cloud based storage system and discovery. The data is local for computational purposes, but has the option to be stored on a remote site, and the remote site is used to share the data.
To store files remotely, you need an S3 compatible storage solution. S3 is created by AWS and you can set this up through them, but there are a number of other providers, and one recommendation is to use Backblaze. They have an S3 compatible storage, on Dec 8th 2024 the price was $6/TB/Month. Egress (download) costs are free up to 3x what you store, but 1cent/GB for downloads above that. That means that if you have 1TB with 1TB download per month you pay $6. If you double the download to 2TB/month you pay 10$ extra for the added download.
Note that ImageTank will cache your downloads so extra download costs are likely not going to be a problem.
In addition, a lot of storage systems allow you to access data through the S3 protocol, like NetApp. That means that if you are at a university or a research institution changes are that they can set it up for you. That has the added benefit of staying on premises and not having to depend on a third party provider.
How do you create a Snapshot?
Snapshots are created in ImageTank and store the state of an object. Take for example an object where you take a folder of tiff files and create a time series of images.

This object is only valid when there are files in the /tmp/data/images folder, and if you want to share this with someone else you need to send the content of that folder through some mechanism, typically a drop box link. On top of that hassle is figuring out how to archive the images, how to document what the images are of. Then make sure that you don’t accidentally delete them when you are cleaning up your machine.
You can use the snapshot mechanism to do this. In the gear menu select the ‘Take Snapshot’ entry

What you get is the following entry:

What really happened is that all 201 files were computed and saved into a single data file. If you click on the Finder icon in the table above you reveal the file. There are three files stored with the same name, different ending.

The .dtbin file is where the data is stored. The .info file is the metadata for the file. That is, it contains information about when the file was created, who created it, what it contains and both the short name and full description. The .expires is a file that is used to know when this file should be removed. Removal is discussed elsewhere.
The file name is the sha256 checksum for the file. You can verify that the file has not been changed by using the following command in the terminal:
shasum -a 256 43bf2ceaec06934370453557757b7cc4cb8bae564fb5fedafcd5b414ac5305cc.dtbinSee the wikipedia for more information about SHA checksum. The key results for the checksum is that it gives a 32 byte digest that when you write it as hex code is 64 characters. It is created such that small changes in the input cause big changes im the output and it is astronomically hard to to find or create a different file with the same checksum. This checksum can therefore be viewed as a global identifier for your data file.
Changing Snapshots
Changing the data of the snapshot is not possible. In fact that is one of the big benefits of this approach, you know that the data hasn’t changed. The meta data however can be changed at any time.

Selecting a snapshot is different than the standard way to select a file. One way to describe the difference is that the snapshots are in a database instead of a file system. You find them by querying the list of snapshots that exist on your machine. The following screenshot shows what happens when you click on the side panel for a snapshot. It shows the list of all Image variables that are on your machine. You can use the search field at the top to hone in a file. Note that there is a built in variable monitor at the bottom that allows you to get a preview of the dataset without selecting it.
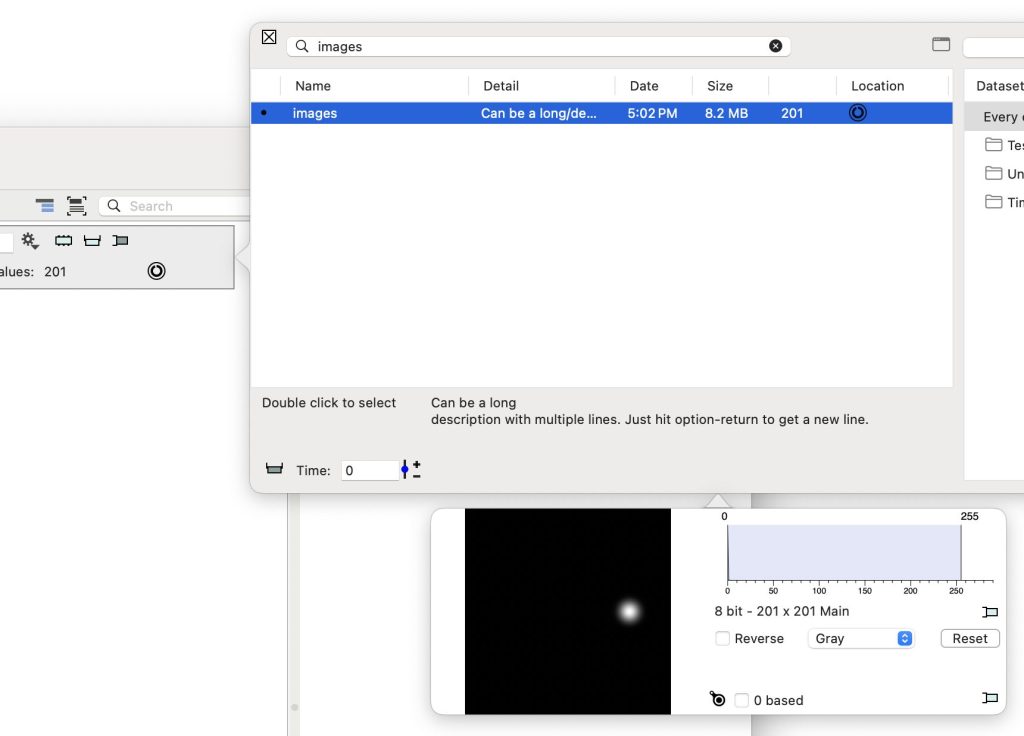
If you don’t have a snapshot entry, use the File entry in the toolbar to create a blank snapshot entry. Then you can select it.
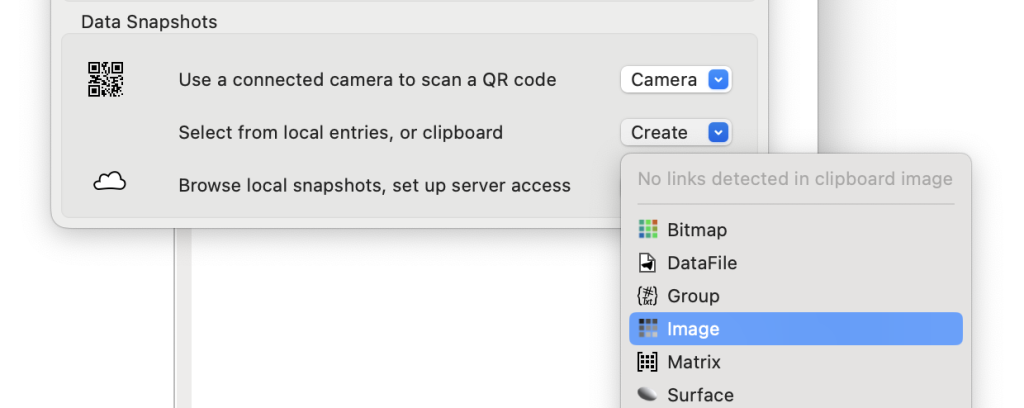
You can also drag the snapshot from one ImageTank file into another to take a copy. There are several other ways to select and share Snapshot entries that will be described elsewhere.
Storing Snapshots in the Cloud
Snapshots are managed by ImageTank, and are stored in one of three places. The first is the scratch folder. This is stored inside the Library folder in your home directory. The second is the Local folder. You control what files go in and when they are removed.
The third is cloud storage that you have access to.
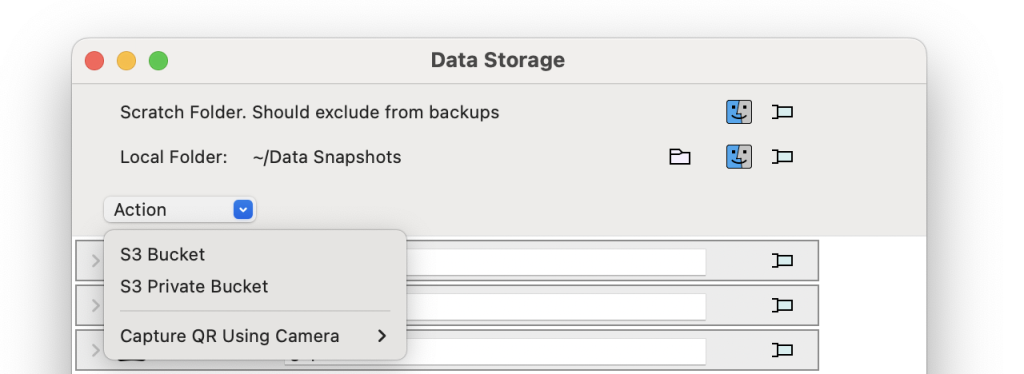
If you have access to an S3 bucket, skip a little bit ahead. If you do not have a S3 bucket it is easy to set it up on Backblaze.com. This is completely separate from ImageTank, and likely other companies that support S3 buckets have a similar UI setup. Backblaze is reasonably priced for individual use, and is great for off-site backups.
Once you have an account, you get the following page to set up S3 buckets. Click on the “Create a Bucket” button
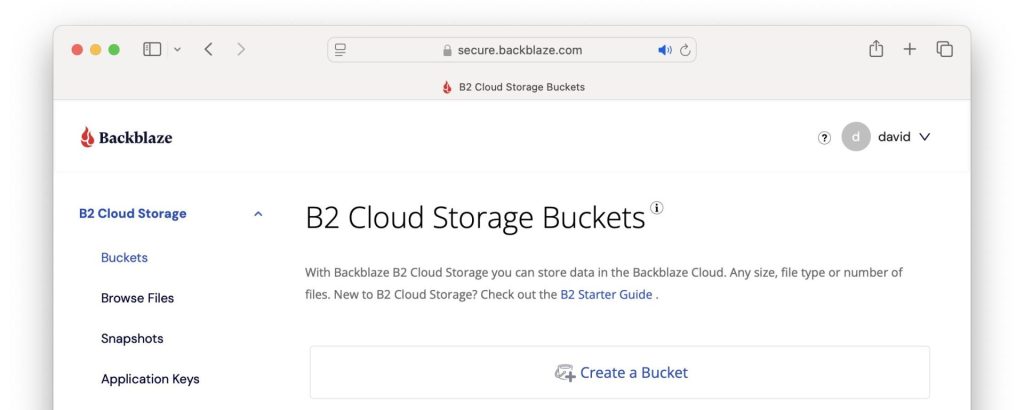
Next you set the bucket name and settings. Note that the buckets will be called BucketName.s3.us-west-002.backblazeb2.com. The big decision is to select between Private and Public option.
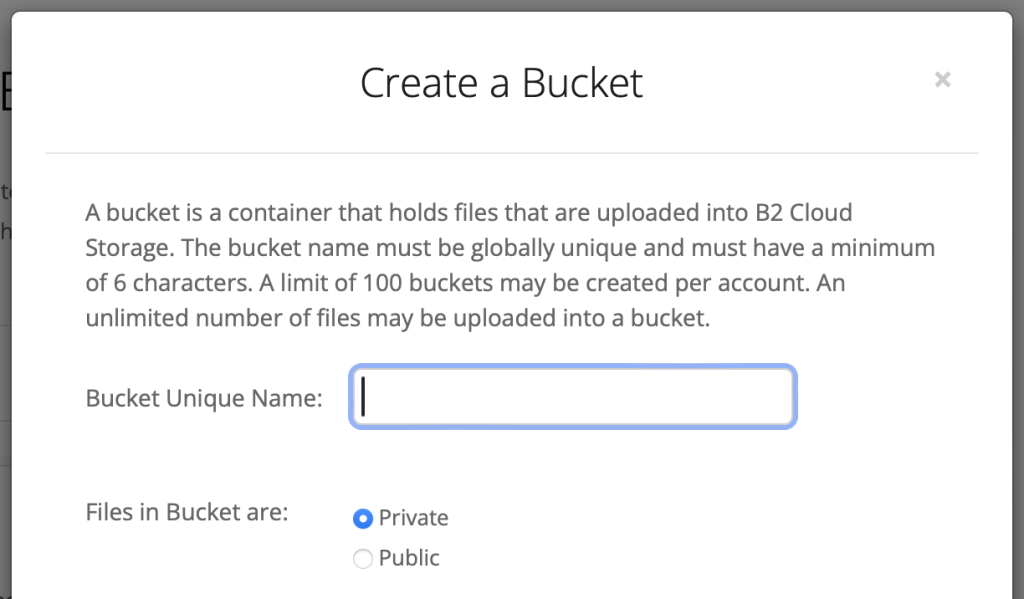
The difference is that Private means that you need to have an access code to read and write to the bucket. The ‘Public’ option means that you need access code to write to the bucket, but not to read from it.
Once you have the bucket, you need to set up an access key, which Backblaze calls “Application Key”. On the left side of the window, select that tab. You have to set up a Master key once, but then click on the button to add a new application key.

Give the key a name, select the bucket you want to get an access key for, and then select the Read and Write, even for the Public bucket. Leave the other fields blank.
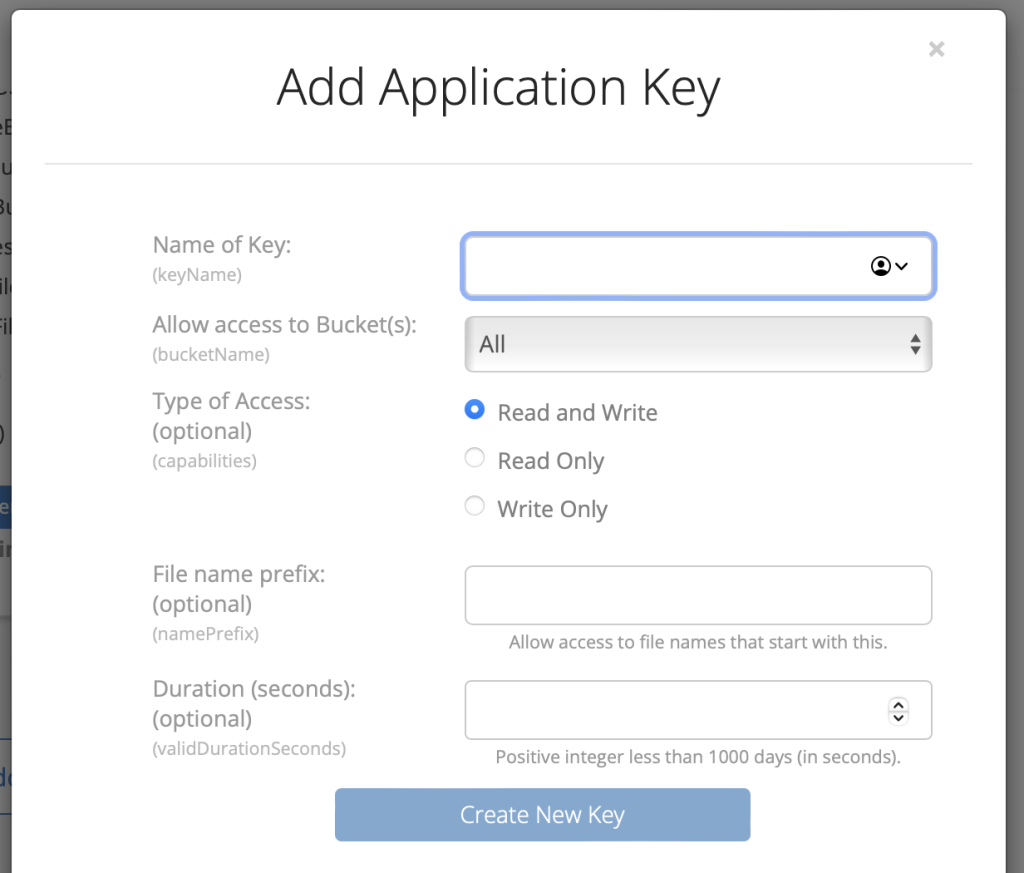
If you are sharing within a group, you can use the private bucket. If you want to send snapshots to someone outside the group, essentially a “anyone with the link” type of share use a Public bucket. Select ‘S3 Bucket’ from the menu above and paste in the information from Backblaze. Note that you need to select the Prefix option, since Backblaze uses that convention.

Now you have your own S3 bucket, ready to be used to share Snapshots. If you are in a snapshot entry, use the Action menu and select the bucket you want to upload it to.

Once it is uploaded you can see in the location list that it is now in the S3 bucket.

Sharing a Snapshot
The benefit of uploading snapshots to the cloud is two fold. First you don’t have to store them long term on your own machine except when you are using them. Second is that you can share them will collaborators or send anyone a link to the file and they can download them. There are a few ways to do this:
If you send over the ImageTank file that uses a snapshot to someone, ImageTank will check if there is a local copy of the data file cached on the machine, and if not will download it from the cloud. This assumes that the file is either public or the reciepient has access to the same S3 bucket.

Use the gear menu and select the ‘Copy Cloud Link’. this copies a link like itank://data/Image:2fbebebde5adee7bef145e162fbc3dabca2672196be6cc9f7e536b4680381694 If you click on this link in Safari you get a promt to have ImageTank open it, just like when you click on a Zoom link. What ImageTank does is to open up a window with the snapshot. The snapshot is automatically downloaded. Since this is a sharing site, the above link will work for everyone.
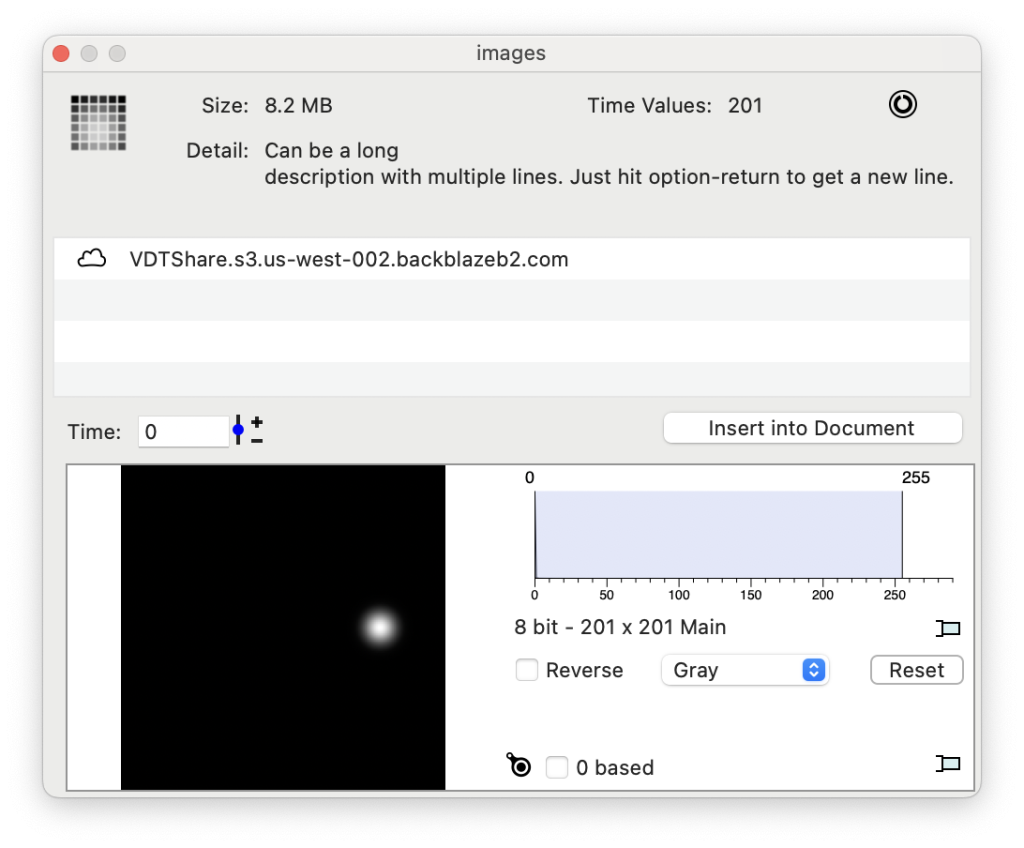
Just copy the text
itank://data/Image:2fbebebde5adee7bef145e162fbc3dabca2672196be6cc9f7e536b4680381694and paste it into an ImageTank document, ImageTank will detect that you are pasting in a URL.

A snassier way is to use a QR code. You can have ImageTank bring up a QR code that encodes the above link.
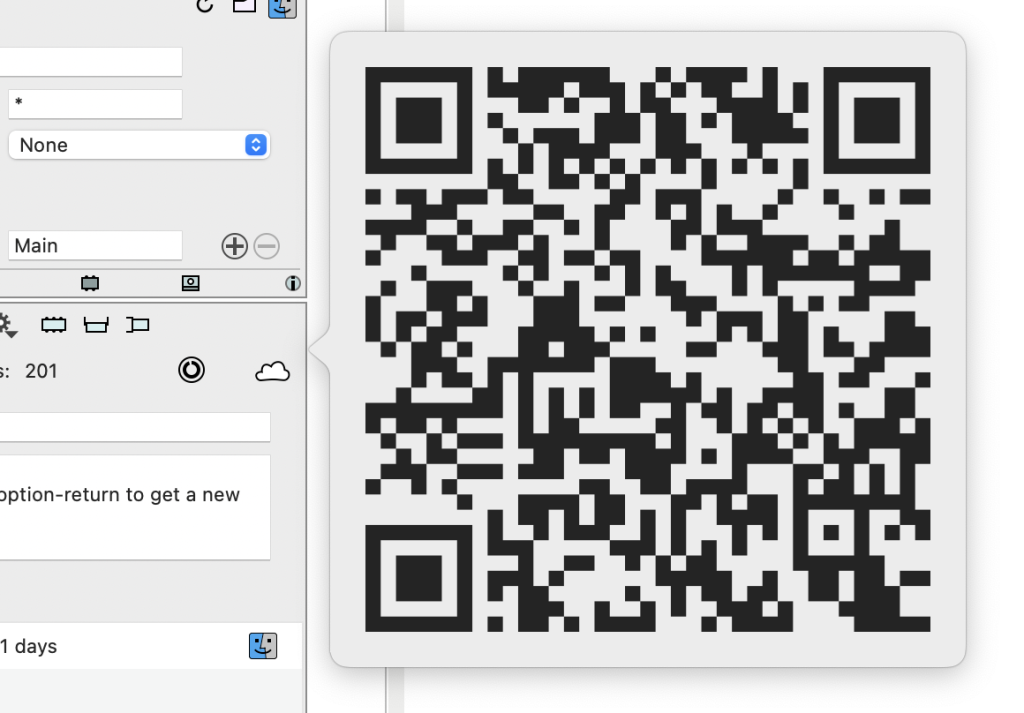
There are several ways to use this QR code. One is that you can take a screengrab of the QR and paste it into an ImageTank document. For example if you show this QR code in a Zoom call. You can also go into the File menu in the toolbar and use the Create menu. It detects that there is a picture of a Snapshot object in the clipboard (you can have more than one).

Finally, you can use that same window to use the camera to scan in the QR code. For anyone that has an iPhone you can use the Continuity Camera functionality as an external camera for your Mac. Point it to the QR code and as soon as ImageTank detects a valid QR code it will insert the object into the variable list.

The only thing that is not supported is to share the files on disk that contains the data and information.